If you are a Figma designer and want to give your designs a life, then the Figma to webflow converter is your way. Figma is a tool that creates attractive visuals. It helps to build mobile application interfaces, captivating social media posts, and wireframing websites. Webflow is a web tool that helps to create websites without coding. You can create professional websites, digital portfolios, and eCommerce stores using Webflow. Both Figma and Webflow have become essential for one another to create, design, and develop websites. If you have created website designs or user interfaces (UI)in Figma, you can easily make them live. In this blog, we will explore how to import Figma to webflow, two essential methods for converting Figma designs in Webflow through Plugins and manual procedures, and tips for using both conveniently. So, let’s start from the first step.

How to Convert Figma to Webflow?
You can import your Figma designs into Webflow using two different methods. These methods are
- Import Through plugins
- Manual import of Figma Prototypes into Webflow
What are the prerequisites for importing Figma designs into Webflow?
Have you created designs in Figma and want to import them in web flow but need help knowing where to start? We will guide you thoroughly. The first step is to create accounts in both Figma and Webflow. The account in Figma will assist you in creating designs, while an account in Webflow is necessary to use Webflow. Once you create both accounts, you can import your Figma designs into Webflow using Webflow plugins and manual methods. Let’s discuss both these methods in detail.
Figma to Webflow Plugins
After creating initial Figma designs, does converting them into HTML and CSS code seem challenging? Make it easy through Fgma and webflow plugins. These built-in Webflow plugins can automatically translate Figma layers into HTML and CSS codes to create websites. These plugins can solve the following layouts
- Auto Layout
- Typography
- Images
- Absolute position
- Border styles
- Opacity
- Background images
- Shadows styles
- Linear gradients
- Vector and shape conversions to SVGs
These plugins have many other features, e.g., automotive-style guide creation, more than 20 built-in layouts, responsive structure, 50+ CSS declaration support, and many more. However, Figma is not a web development tool, so some translations are impossible. So, you can not take these plugins as a one-click website. You have to work on some elements to make a more professional website.
How to Install and Use Plugins?
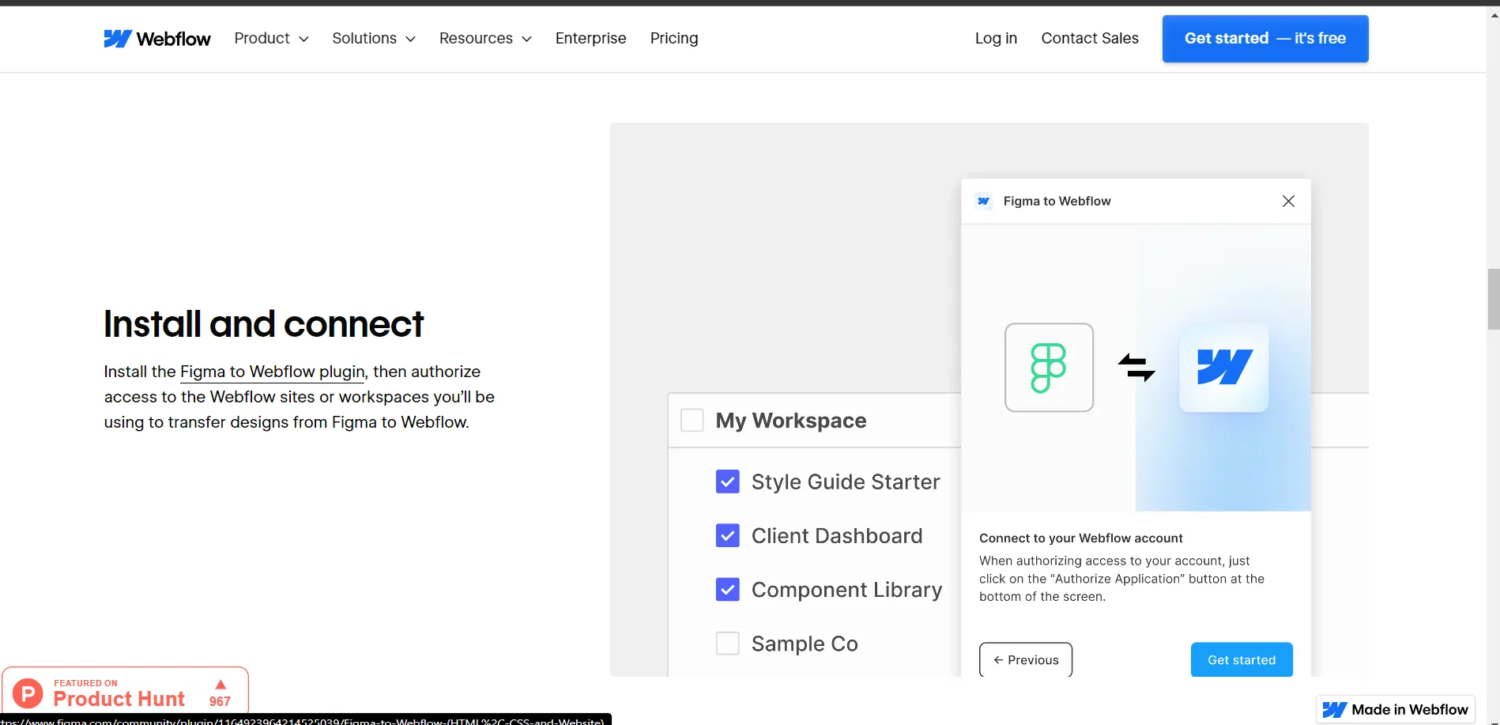
The installation and authorization of webflow from Figma plugins is very simple. If you are new to using these plugins, the following is a step-by-step guide.
- Login to Your Figma account.
- Open Figma to the Webflow plugin page.
- Click on Try it out. It will land you on a page that will open a plugin modal window.
- Click on the Run Icon.
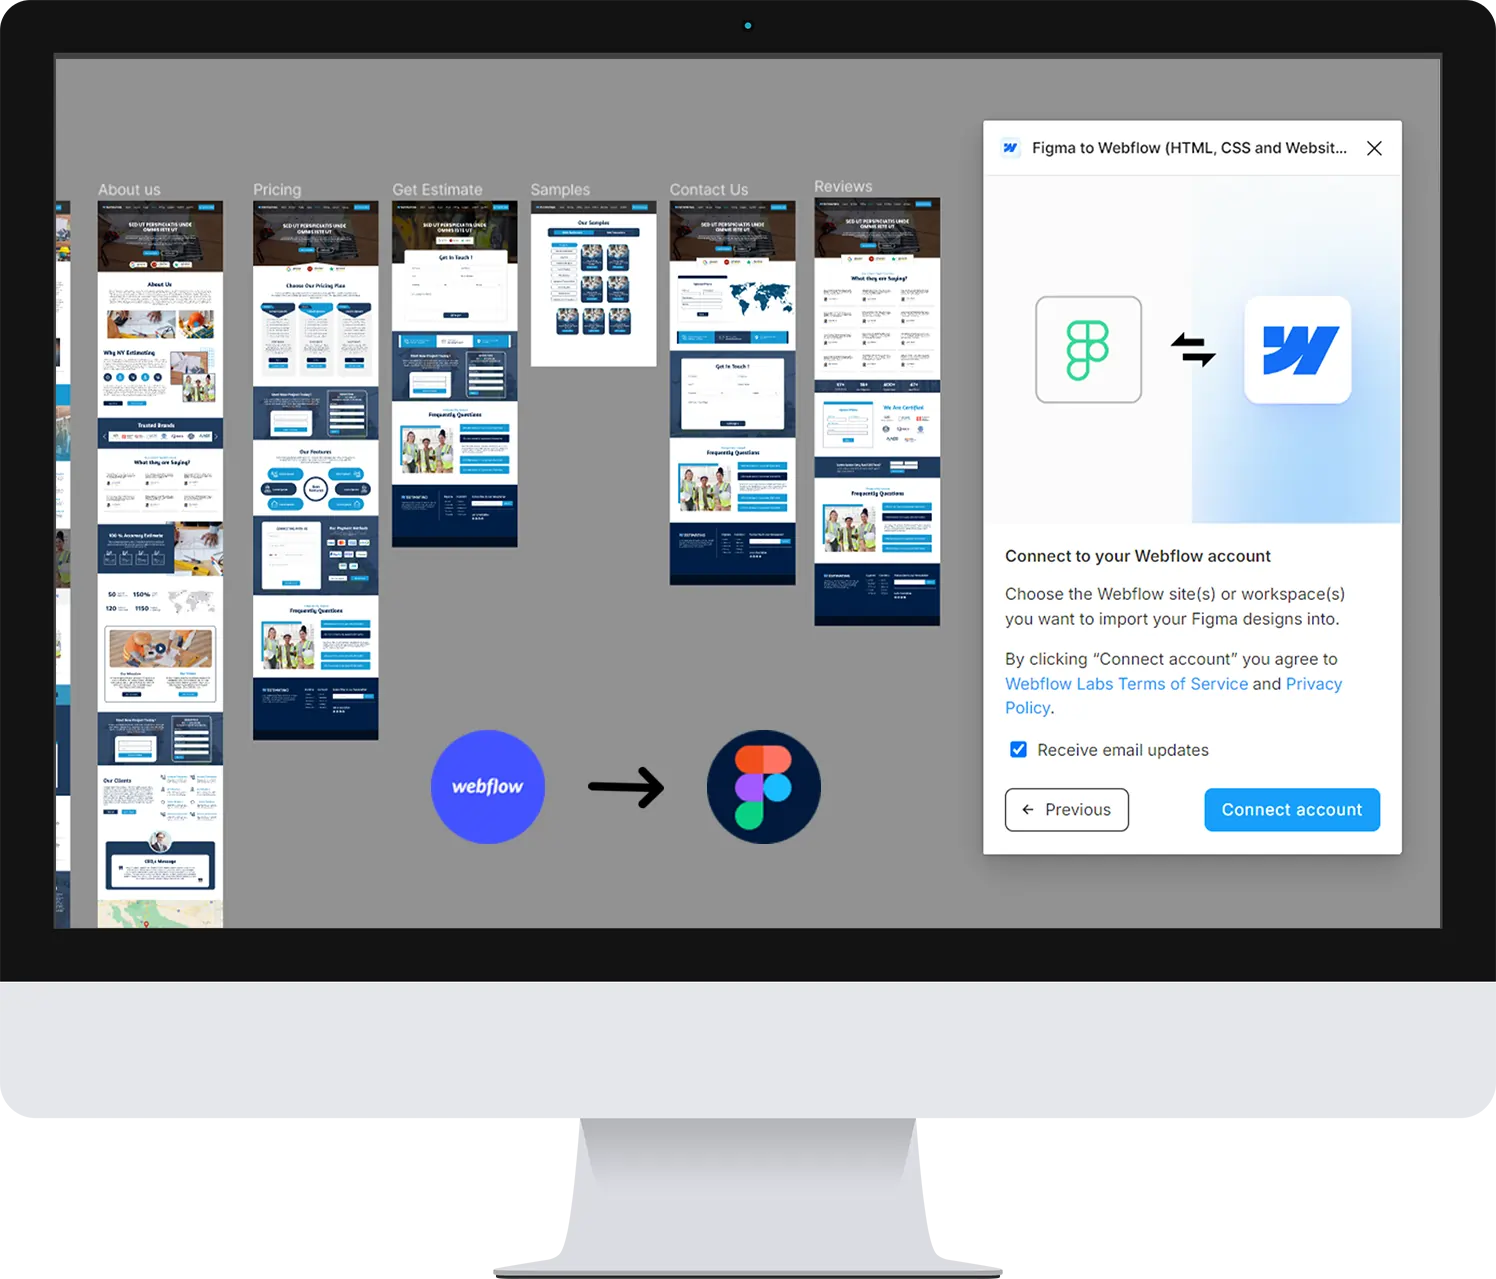
- Click Connect account.
- A new window will help you log in to your Webflow account.”
After entering web flow credentials, your web flow account will be connected, and you will be landed on the app authorization page to authorize the plugin with your web flow account. After that, you will use all the websites and workspaces you want to authorize with plugins.
Benefits of Using Plugin:
Plugins are easy to use and convert designs into websites quickly. But they have some limitations, too. Let’s discuss both the advantages and limitations.
Easy Transfer if FIgma Designs:
You can quickly transfer your Figma designs into Workflow without putting extra effort into each element’s manual recreation.
Automatic Translation:
The plugin can easily translate your Figma designs into HTML and CSS code. You do not need to put any extra effort into the code.
Copy and Paste Format:
Plugins allow copy and paste format for different text and color styles. It helps to maintain your design and style according to your initial Figma.
Various Supported Layouts:
Plugins support a variety of layouts, such as opacity, images, conversion to SVGs, typography styles, border styles, etc., that maintain the Figma designs in the web flow.
Support from Workflow Lab:
The Workflow community continuously works to enhance the plugin’s efficiency. That’s why plugin features change over time, but the good news is that you can find the support and procedure for using new plugin features from the Workflow lab and community. Moreover, troubleshooting guidance is also available in case of any problem.
Custom HTML tag definition:
You can manually import Figma designs into HTML tags to ensure the website’s full functionality.
Responsive Websites:
Plugins help create responsive websites by defining breakouts, adjusting layers, and sizing and spacing elements. These adjustments are necessary to ensure your website is suitable for desktops and mobiles.
Disadvantage:
Although there are a few disadvantages, we should discuss them to give you complete knowledge. The disadvantages are
- The plugin can not support all designs; they have design and automatic translation limits. So, constantly adjust other points manually to create a thoroughly efficient and functional website.
How do you manually import Figma Designs?
If you want to import your Figma designs manually, then you can save the designs in Jpg, png, or SVG formats and then upload it directly into Workflow. The following is the procedure for manually importing your designs into Workflow.
Login Your Workflow Account:
First, log in to your account and open the workflow dashboard. Click on the new project icon. Choose a blank template and give your project a name to keep a record of all your projects. After this, click on the Create Site button.
Global Style Settings:
The next step is choosing settings for your elements. Select global settings instead of manually choosing settings for your fonts, designs, spacing, and colors. It will automatically choose these settings for all yourFigmaa elements and save time. Save the settings.
Export Design From Figma:
Once you finish the global settings, it’s time to export your designs from Figma. To do this, go to the File menu and select Export. Select the desired format in the export dialogue box and click the Export button.
Create Div-frames:
The next step is creating Div-frames by using HTML elements. For example, create a header, footer, navigation bar, and primary content section for each element as a basic structure for your website. You can change the style and color by using the Webflow style editor.
Test Through Preview:
Check the preview by using the Webflow preview tool. Check the website structure for all devices, such as mobile, Mac, and PC, and adjust it according to the requirements. You can use the Webflow grid tool to create a responsive website. It allows you to drag and add elements onto the canvas. For example, if you want to change an element’s style, select the element and click on the style panel. You can easily change each element’s style, font, colors, and spacing in this panel. Responsive typography and fluid layouts help create responsive websites.
Add Animations:
You can make your website interactive by adding different animations that are available in the Workflow. To do this, click the “Interactions tab” and select the element to which you want to add animations. Select the animation of your choice.
Launch Your Website:
Now, you have set animations, styles, fonts, and spaces. Your website has a responsive layout. You can launch your website confidently. Before publishing it live, cross-check it on different devices and ensure everything is perfect to go live.
Key Considerations and Tips:
- While manually importing your website, there are some tips and considerations that you should follow to make your work easy.
- Give each project a relevant name in Webflow; this will help you to keep a record of all your websites.
- Make folders in Figma so that when you export the elements in Workflow, you can easily select the desired folder.
- Use Global style for footers, headers, and navigation bars; it will save you time manually setting the style for each element.
- Webflow Grid tools help create responsive designs. Use this tool to adjust your elements.
- More than half of the web traffic is from mobile users, so ensure your website is mobile-friendly.
- Use responsive typography and fluid layouts so your website automatically adjusts to all sizes.
- Make your website interactive by adding different animations
Conclusion:
If you make your initial website designs in Figma and want to make your website live without coding, then Workflow is your place. But how to import Figma to Webflow? There are two ways to convert your Figma designs into Workflow. One uses plugins, and the other uses manual import. Plugins support translating Auto Layout, Typography, Images, Absolute position, Border styles, Opacity, Background images, shadow styles, Linear gradients, and Vector and shape conversions to SVGs.Plugins have some limitations, and you must update a few elements yourself. Manual import is also suitable. It would help if you kept in mind the mentioned tips and tricks for a responsive and friendly website structure for all devices.

